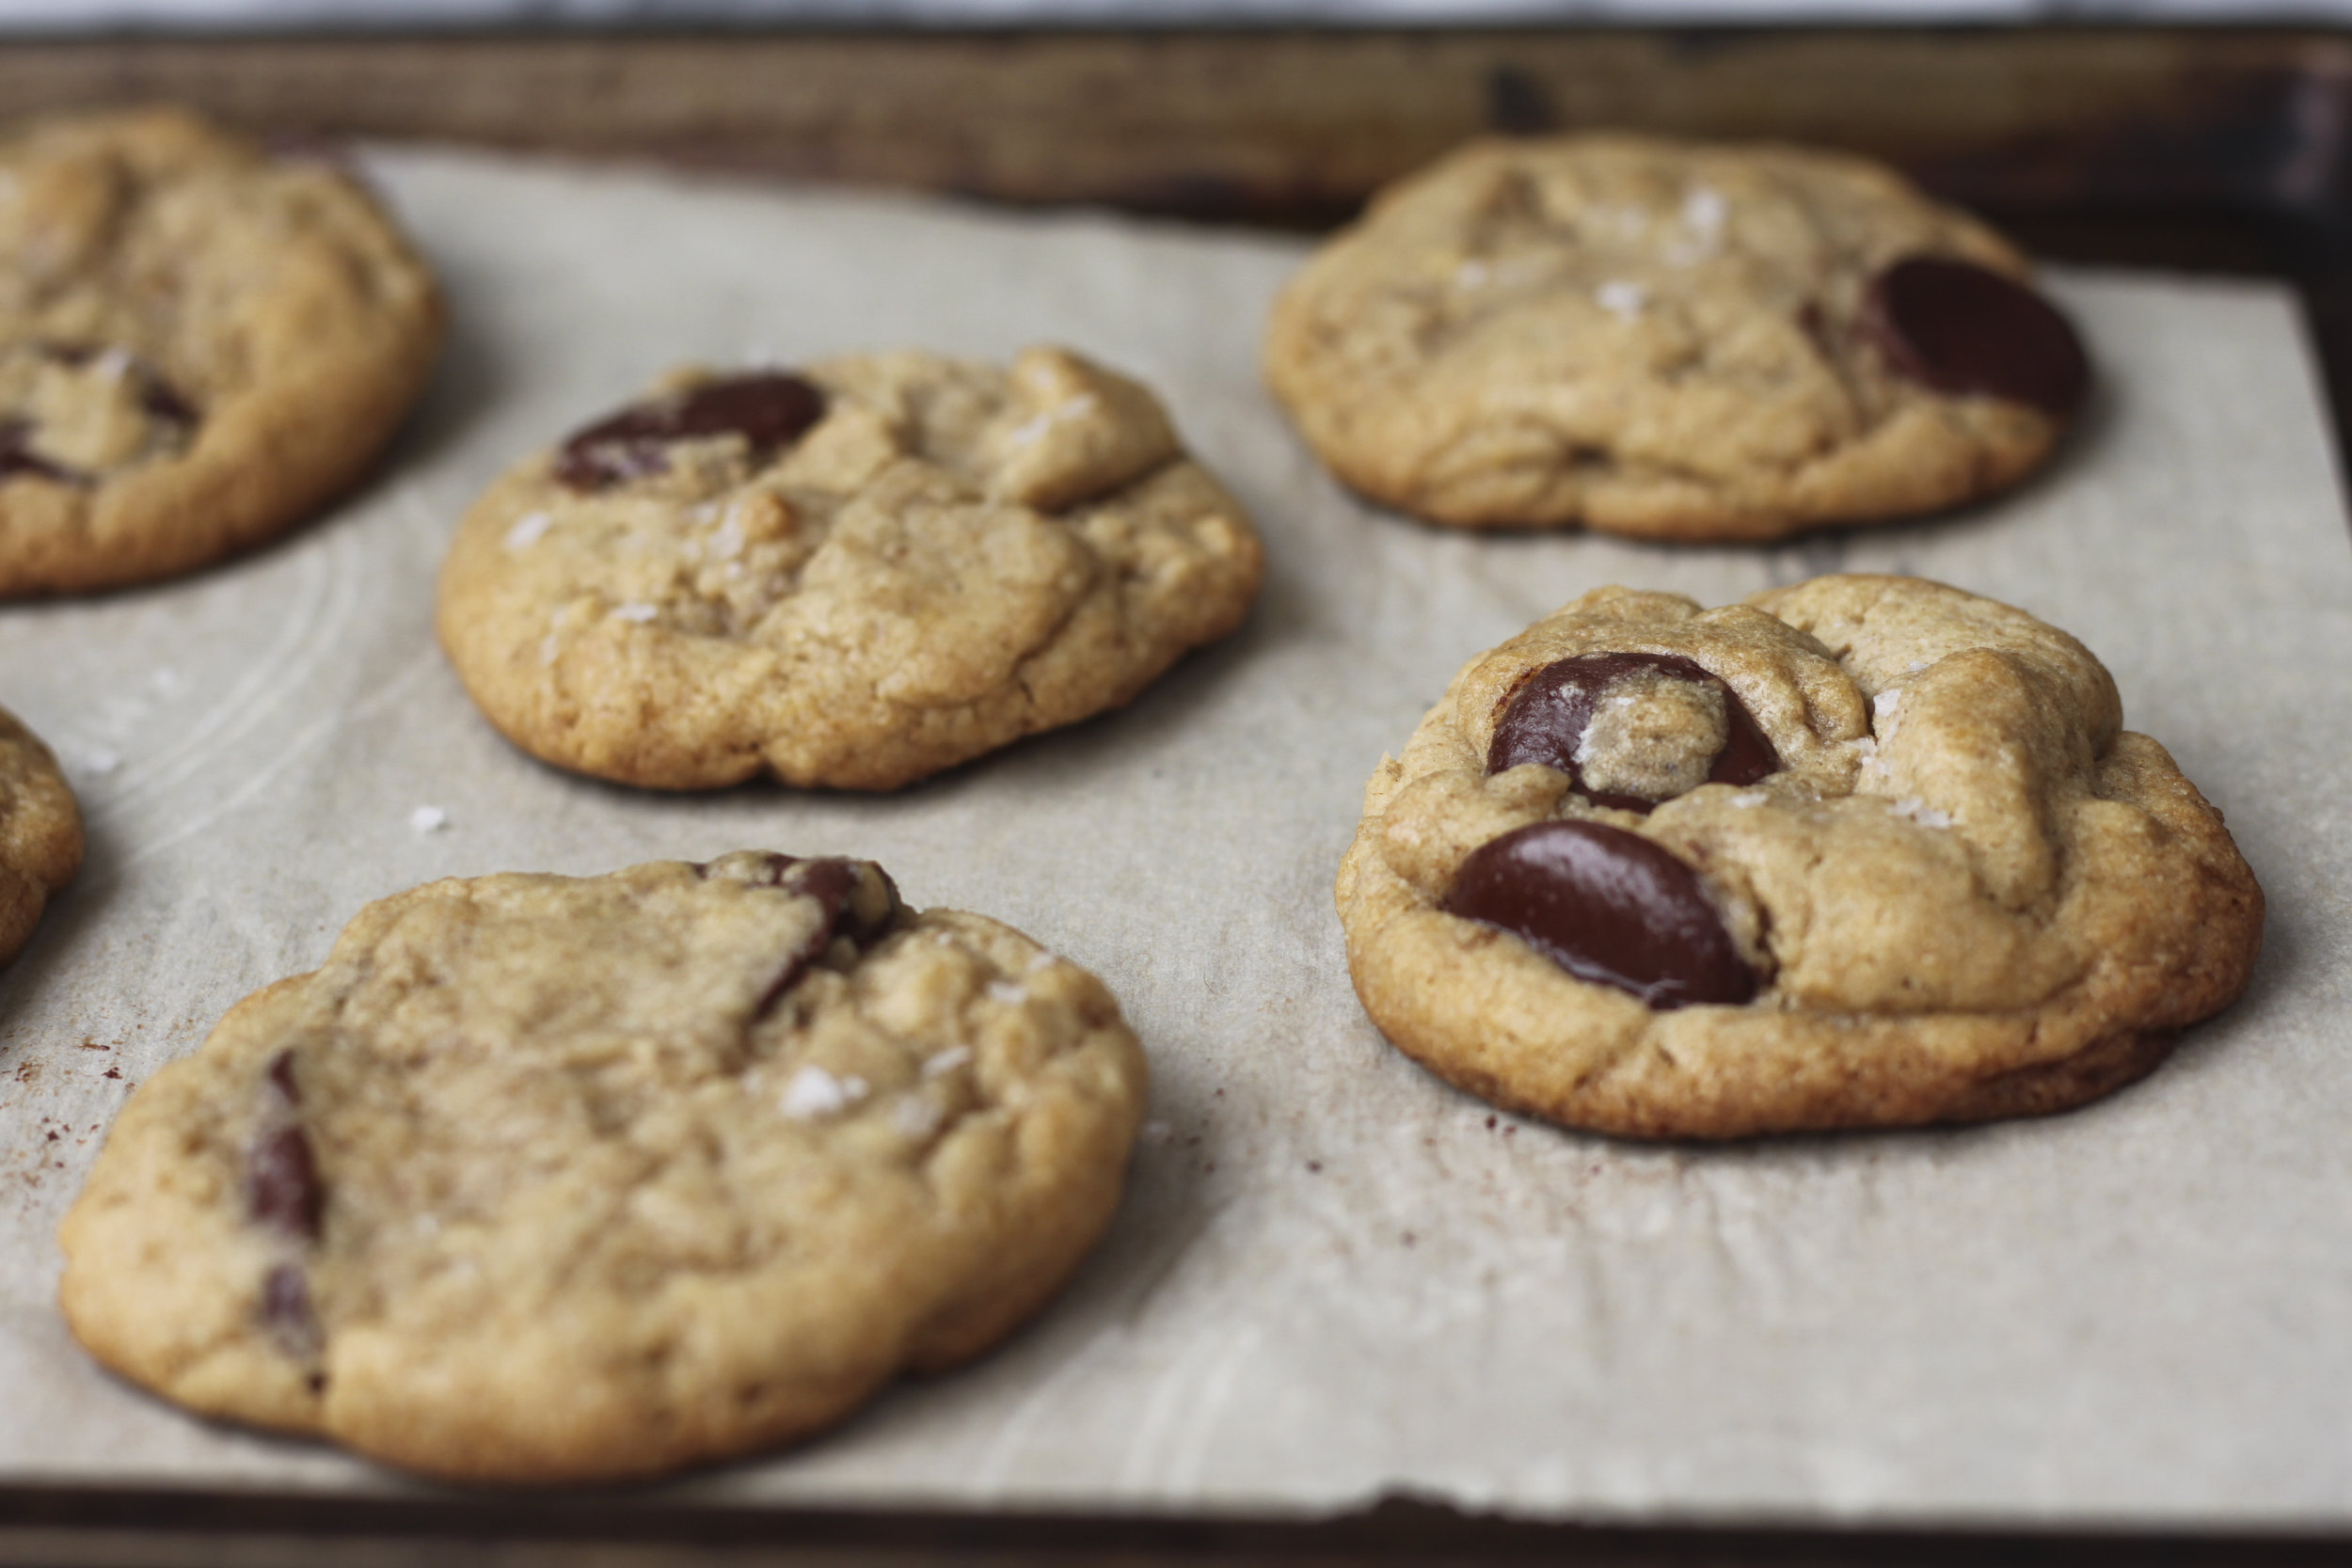
These are my favorite chocolate chip cookies. Share them with people you love and tell the people you love that you love them. Breathe deeply. Be kind. Create beauty in the world, whatever that looks like to you. It's been a hard year. We all need it.
Full corresponding essay here.


These are, in fact, the best ever chocolate chip cookies...and you should trust me on that, because I've baked a lot of chocolate chip cookies in my life. For many years, I was in search of a recipe that would yield a cookie with as much heft as those you get at fancy bakeries, with crispy edges and thick, gooey middles. After conducting some aggressive research, I found out that melted butter results in crispy cookies, whereas creamed butter results in thicker cookies. SO! The secret trick is to melt half the butter and cream half the butter, which gives you the best of both worlds. And as long as you're melting the butter, you might as well brown it, right? I also threw some spelt flour into the mix because I am physically incapable of baking things without at least 50% whole grains. In addition to a nutritional boost, the spelt lends a nice earthiness to the cookie, which balances out its sweetness. I have tested these babies on at least a dozen people, from California to Indiana, from 12 year-olds to 90 year-olds (and the 30 year-olds in between), and they have all given them a resounding endorsement. Not that I should have to convince you to make cookies, right?
//
(Best Ever) Browned Butter & Spelt Flour Chocolate Chip Cookies
Adapted from Joy the Baker
Makes 16
Ingredients
1 cup (2 sticks, 16 Tbsp) butter, softened
1 cup muscovado (unrefined brown sugar)
1 tsp. vanilla extract
1/2 cup superfine raw cane sugar
1 large egg
1 egg yolk
1 cup spelt flour
1 + 1/4 cup unbleached All Purpose flour
1 tsp. sea salt
1 tsp. baking soda
1 cup dark chocolate discs, or chopped from a bar
Maldon or other flaked salt, to sprinkle on top
Directions
1. Brown butter: Place 1/2 cup butter (1 stick) in a small pot and set over medium heat, swirling the pot semi-frequently to prevent burning. Continue to heat the butter after it has melted. It will begin to foam, eventually clear and start to turn amber. At this stage, you will see little brown specks form and stick to the bottom of the pot. As soon as there is a collection of these browned specks, remove the butter from the heat and transfer it to a small bowl, browned bits and all. Be attentive with this; it can go from browned to burned very quickly! Place in the fridge to cool.
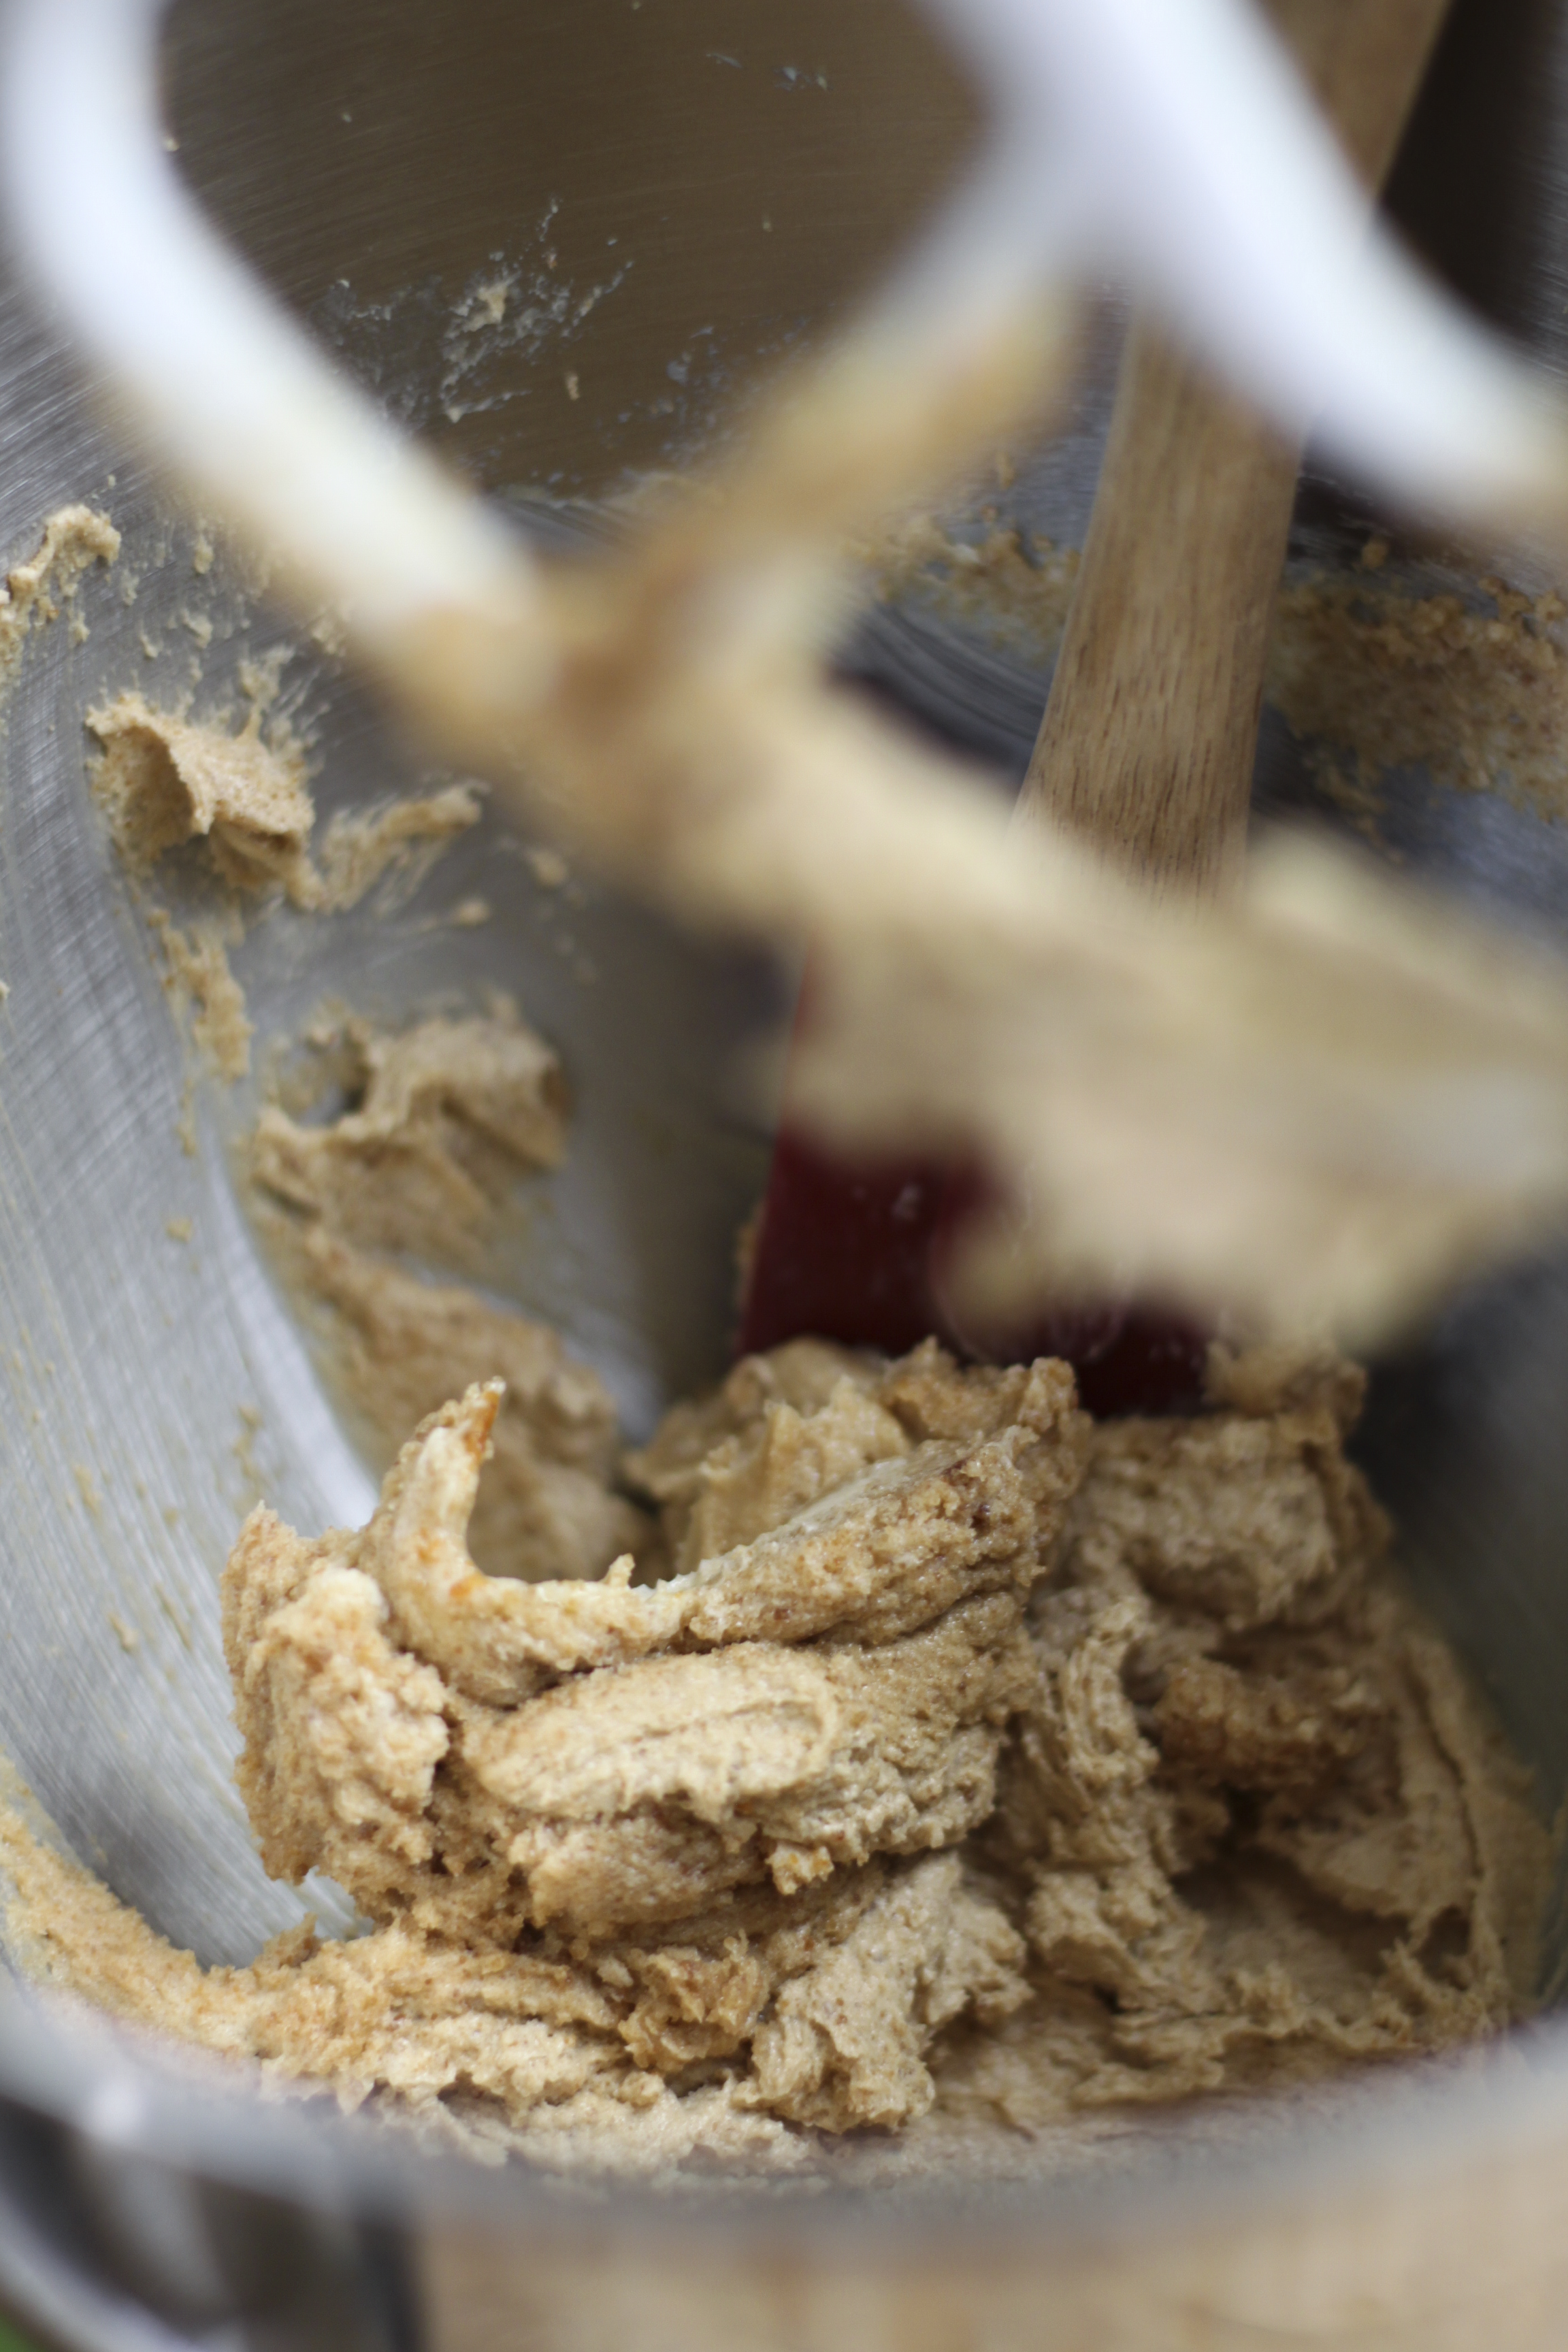
2. In a stand mixer with a paddle attachment on medium speed (or with a vigorous arm), add the remaining 1/2 cup softened butter and the muscovado sugar. Whip until fully creamed, about 5 minutes. Beat in the vanilla extract.
3. Add the cane sugar and browned butter to the mix and beat until incorporated, about 2 minutes.
4. Add the egg into the mixture and beat for one minute. Then add the egg yolk, mixing until incorporated. At this point the batter should be smooth and much lighter in color.
5. Add the flours, salt and baking soda to the batter. Mix at a low speed until just incorporated. There can still be a few bits of flour peeking through.
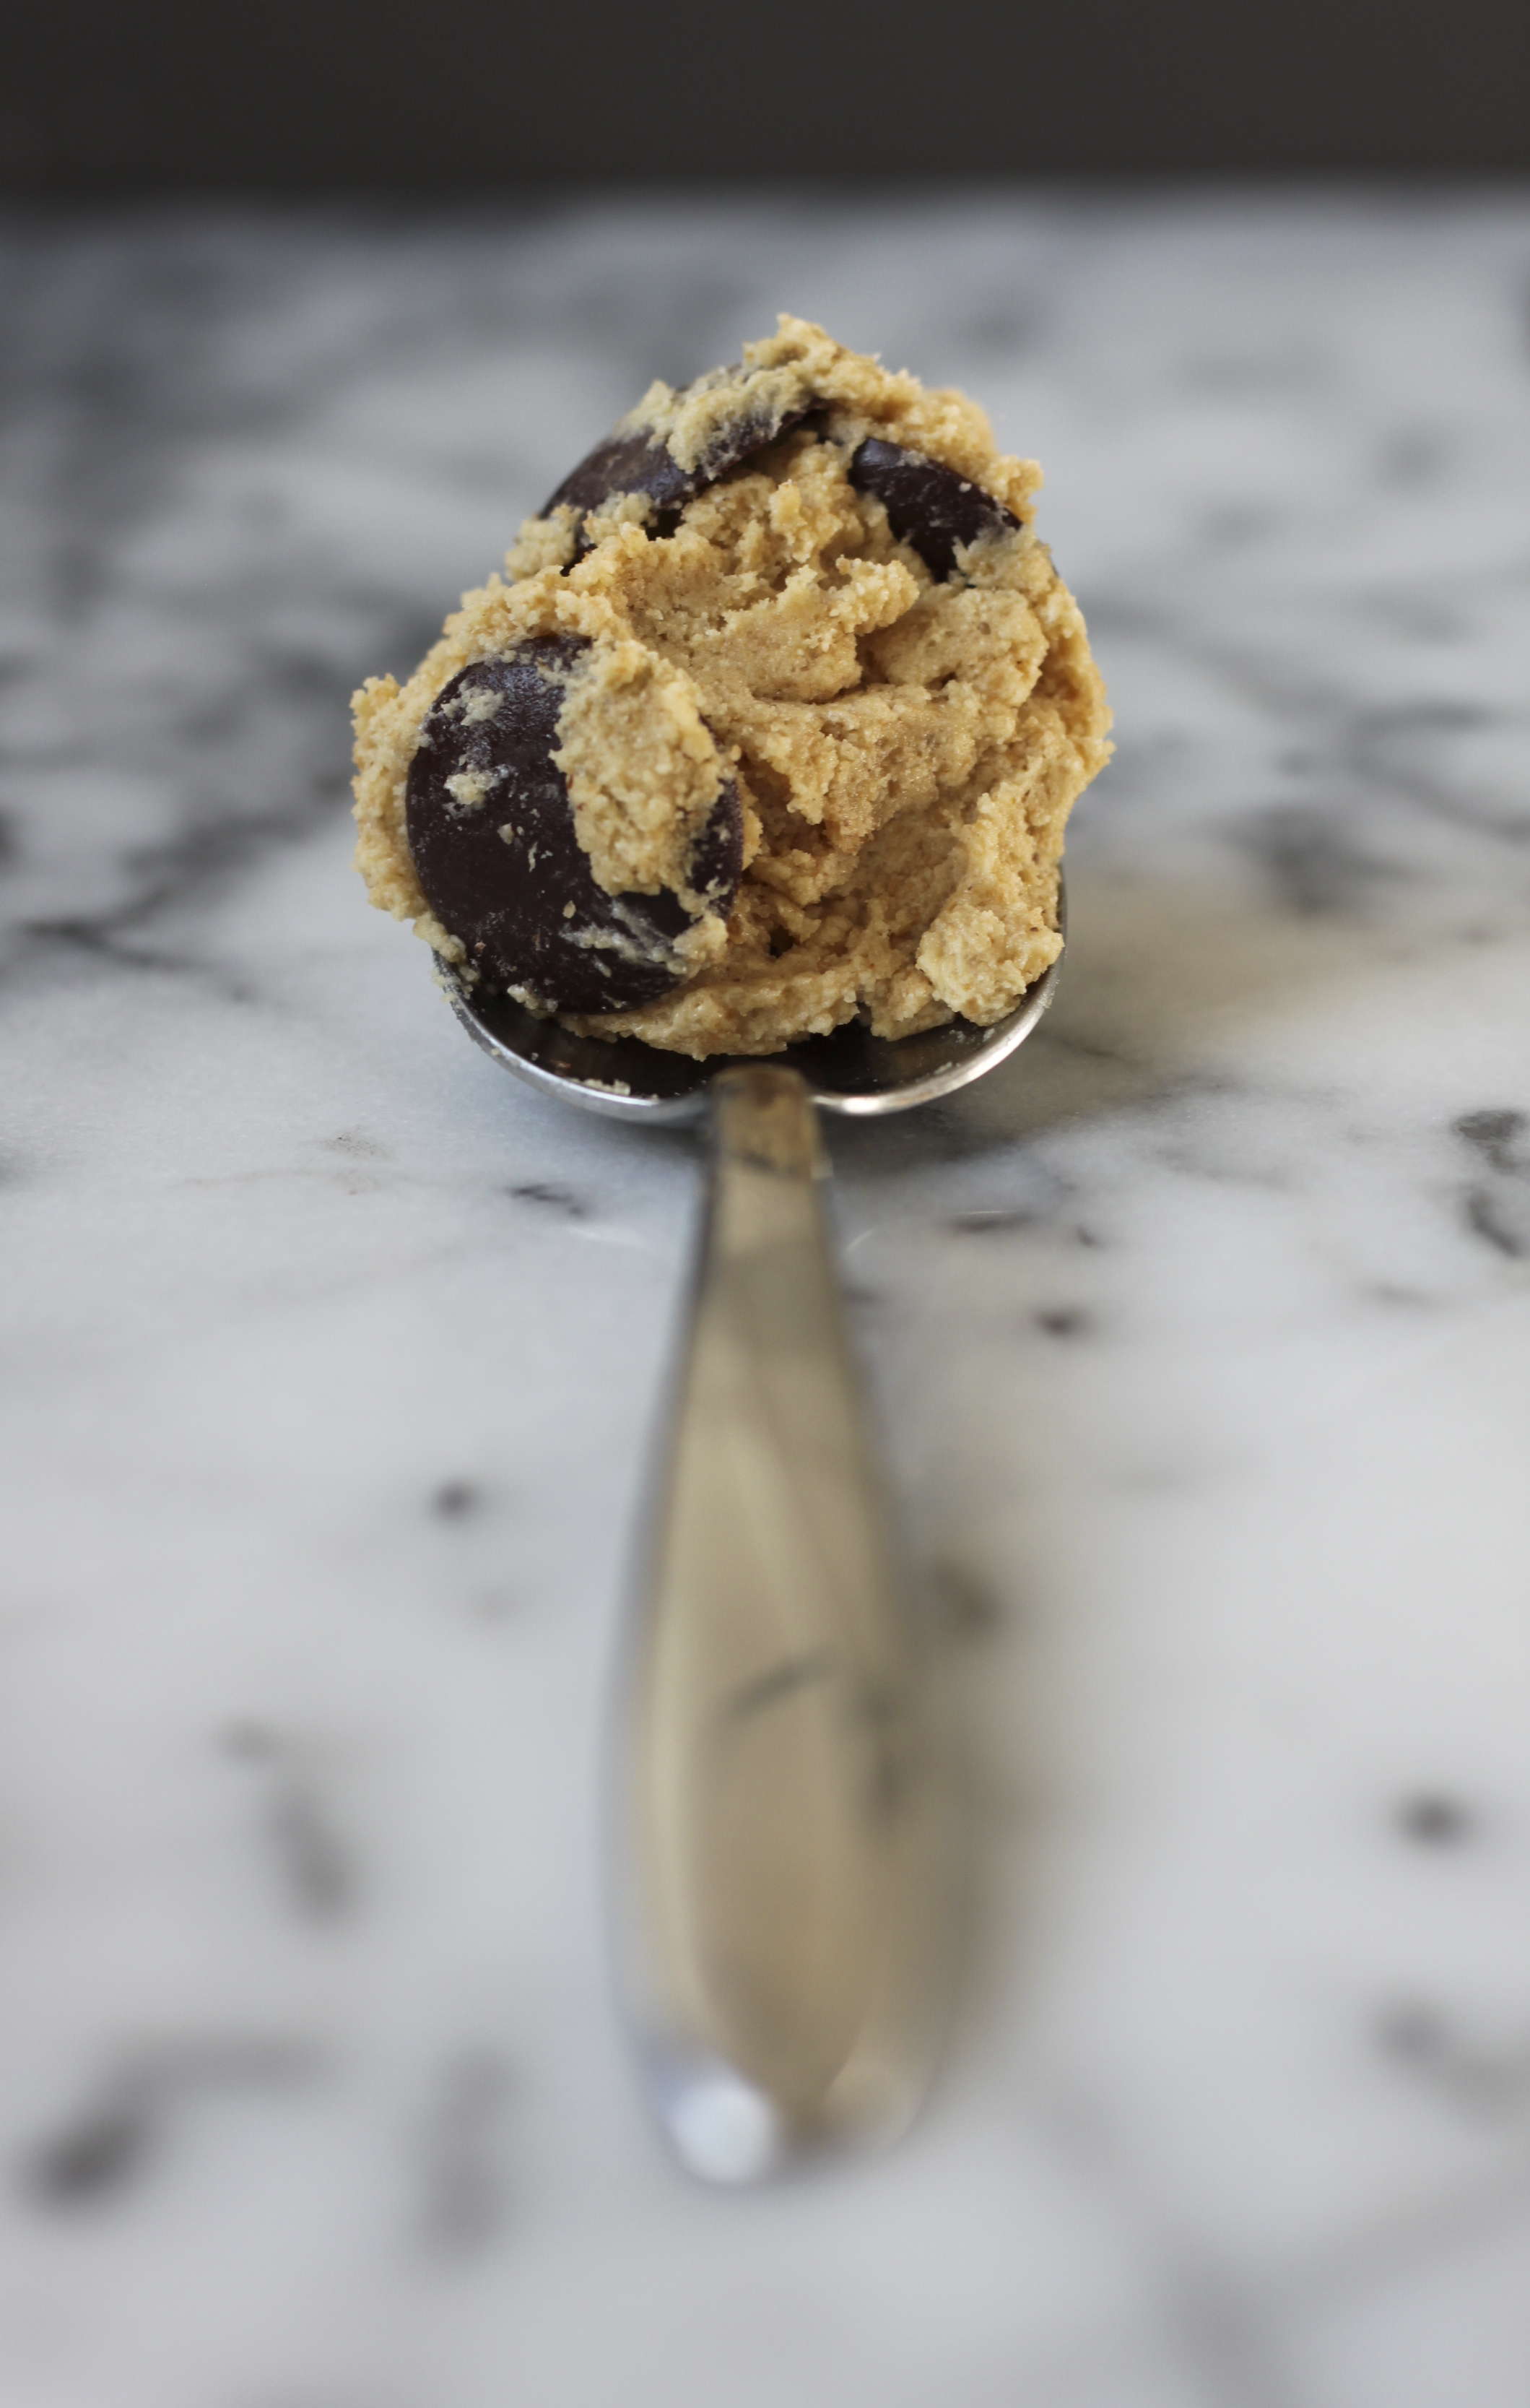
6. Add the chocolate chips and mix very briefly (or fold in with a large spoon), just until they are evenly distributed throughout the dough.
7. Line a sheet pan with parchment. Scoop out 2 Tbsp. of dough, shape into a hefty ball, and place on the sheet pan. Continue with remaining dough. (They can be set close together, as this step is not for baking.)
8. Sprinkle a pinch of Maldon flaky salt on top of each dough ball.
9. Cover the entire sheet pan with plastic wrap.
10. Refrigerate at least two hours, up to overnight.
11. When you're ready to bake the cookies, preheat the oven to 350ºF. Line a baking sheet with parchment and lay out 6 dough balls, spaced evenly apart.
12. Bake until firm and golden around the edges but still a touch undercooked in the middle, about 12 minutes. It is important to take them out of the oven before they are fully baked because the residual heat from the tray will continue cooking them once they're out! No one likes a dry cookie.
13. Cool completely on baking sheet. Then, finally, enjoy!